Using the WP MAIL SMTP plugin on Hostgator using Titan Mail is relatively simple, and after installation and configuration, you’ll be able to:
- Use the configured messaging sender.
- Choose between the SMTP or PHP Mail sending methods.
- Selecting the SMTP sending server.
- Definition of the server’s authentication method (SSL, TLS or none).
- Especificação da porta utilizada pelo servidor de e-mail para enviar mensagens.
If you need to set up e-mail at Hostgator using CPANEL, click here
How to set up WP Mail at Hostgator using TITAN MAIL:
After installing the plugin on your site, configure it using the following directives:
From Email: Enter the desired sender email address.
From Name: Specify the name to be displayed for the account.
Mailer: Choose “Other SMTP” (or the desired server).
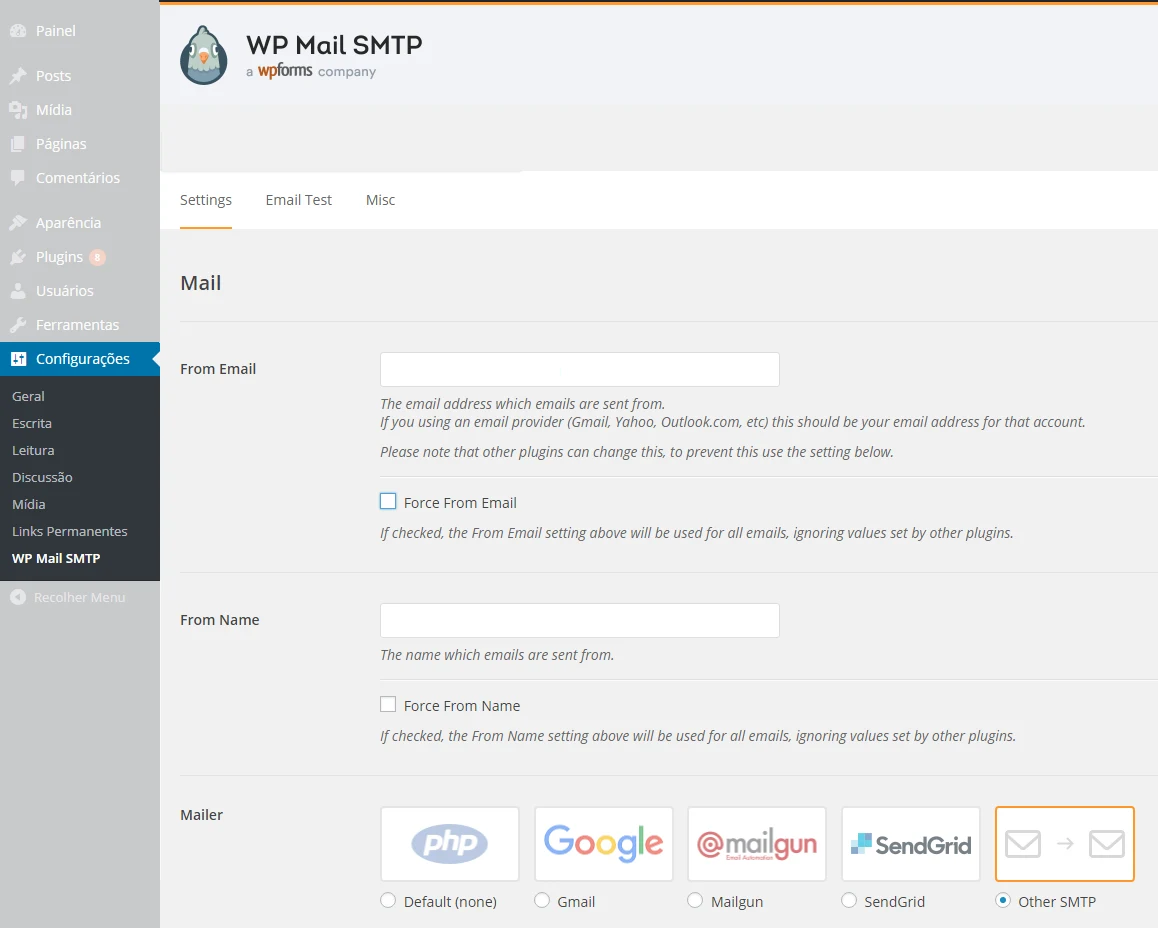
Return Path: Check the option “Set the return-path to match from email”.
SMTP Host: Enter TITAN MAIL’s STMP server, which is smtp.titan.email.
Encryption: Activate the “SSL” option for data encryption.
SMTP Port: Enter the port of the outgoing server; Titan Mail uses port 465.
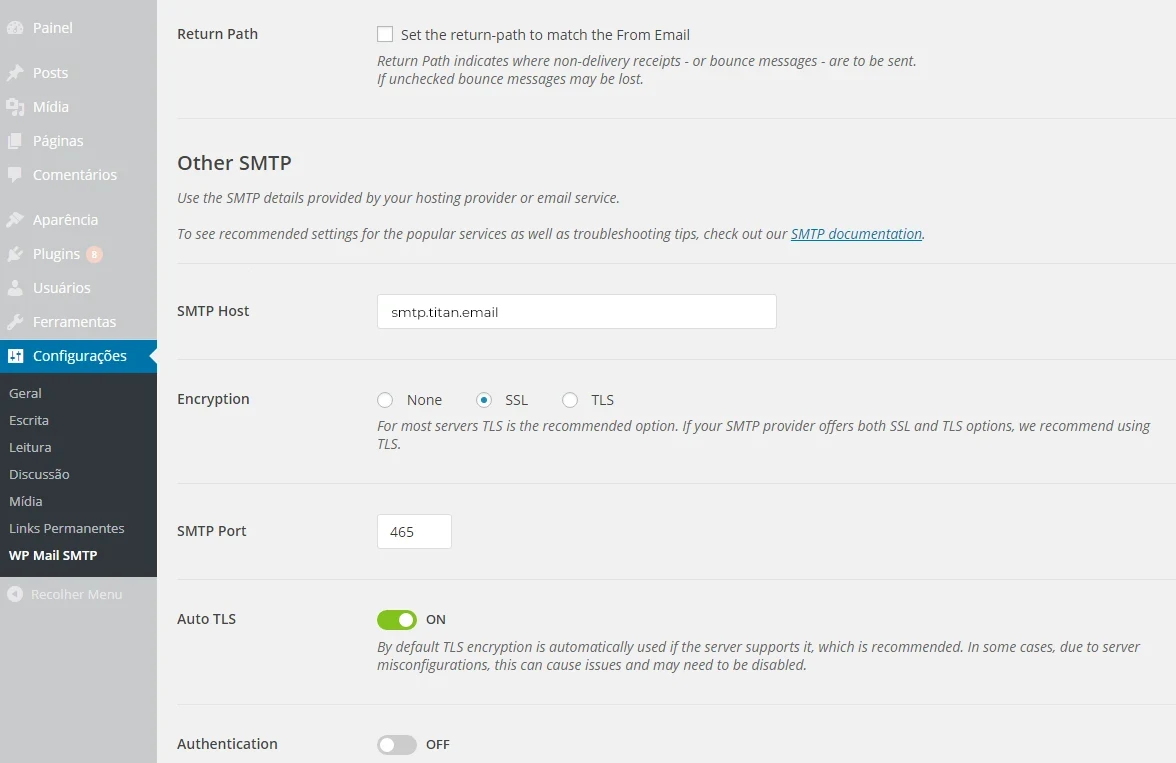
Authentication: Enable the option until it is ON.
SMTP Username: Use the same account as in “From Email”.
SMTP Password: Enter the password for the account mentioned.
Click on “Save Setting” to save your settings.

Done! If you want to be sure how the messages are arriving, go to Settings and then Tools to send a test e-mail.
See you later.