In this guide, you’ll find a step-by-step guide to setting up professional emails, whether for your website or business, and ensuring that all the details are adjusted to your needs.
Watch the video to see the full tutorial or follow the step-by-step below to set up your e-mail in cPanel.
Step by step
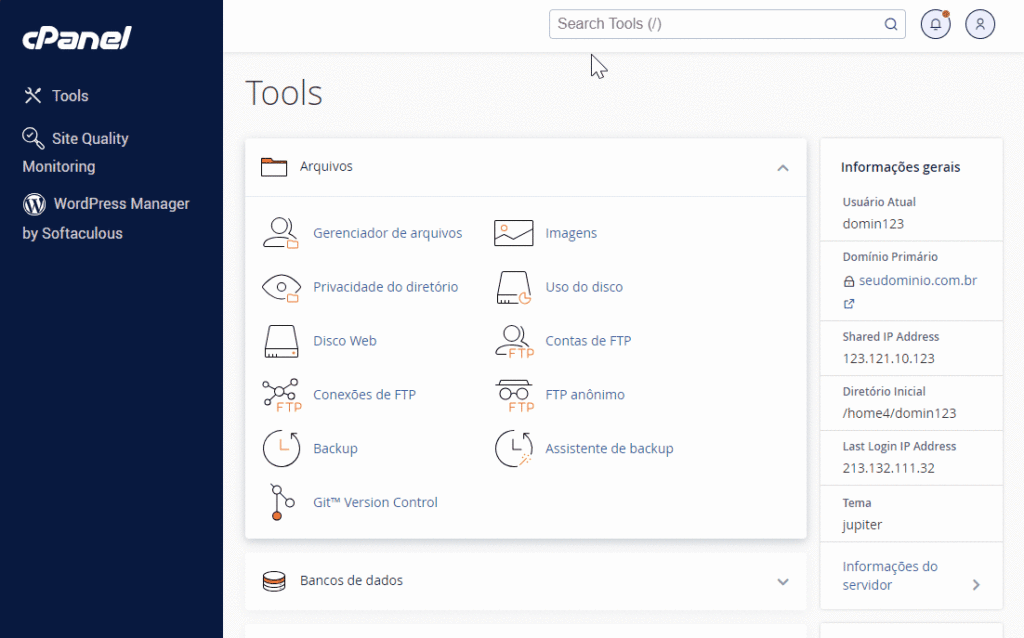
- Access the cPanel – Simply log in to your hosting and look for the button to go to the cPanel.
- Find the “E-mail Accounts” option – Use the cPanel search bar to find “E-mail Accounts” and click on the option when it appears.

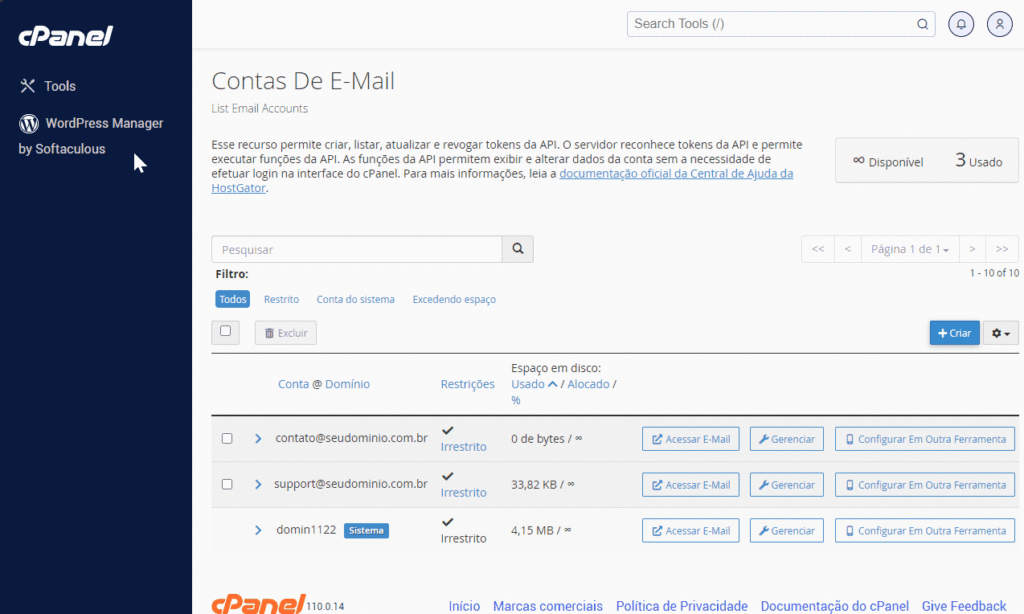
- Click on “+Create” in the “E-mail Accounts” section – This option allows you to start creating a new e-mail account.

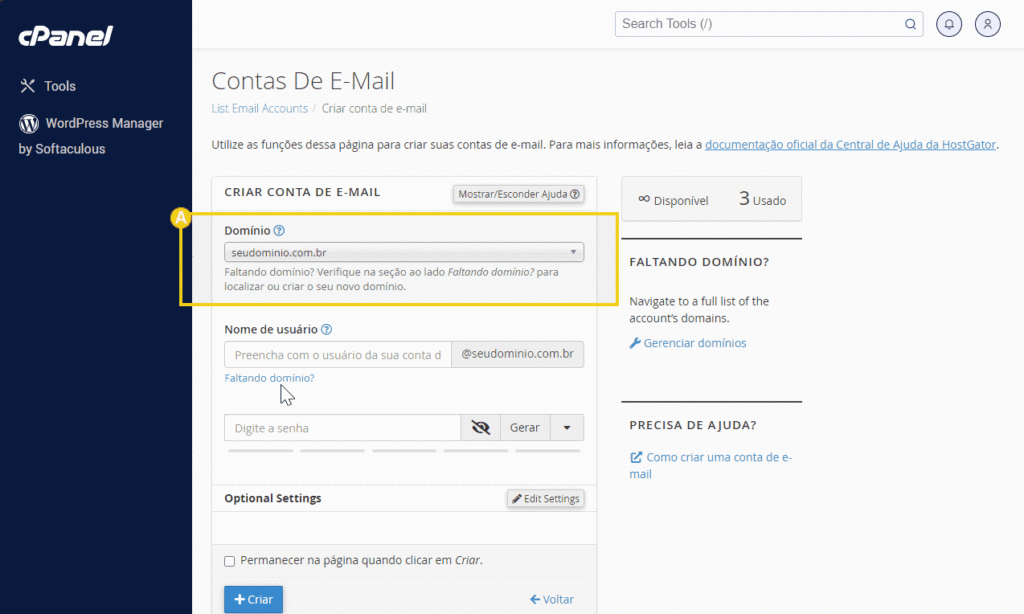
- Fill in the account details:
- Domain – Select the domain in which the account will be created.
- Username – Enter the desired name for the account (before the @), such as “contact” or “support”.
- Password – Create a strong password with at least 8 characters, including uppercase and lowercase letters, numbers and symbols. Use the password generator if you prefer.
- Optional Settings – Click on “Edit Settings” to adjust the account’s storage space and set other preferences if necessary.
- Finish the process – Click on “+Create” to activate the new e-mail.

Ready! Once this is done, you can now access your professional email by clicking on the Access Email button
See you next time!


